Dry Lining for Beginners: A Step-by-Step Guide
In case you seek to improve the inside of your home or workspace, drylining is an outstanding option. This process entails attaching gypsum board to the walls and ceilings, producing a level surface that is prepared for decorating. Regardless of whether you are renovating an existing space or constructing a new space, understanding the basics of drylining is essential you in making wise decisions about the task.
In this tutorial, we will walk you through the drylining process step by step. You will learn about the various types of materials employed, the tools required, and the techniques that expert dry lining contractors employ to achieve a perfect outcome. By employing a small amount of preparation and the proper approach, you can efficiently handle dry lining projects yourself or gain a greater appreciation for the efforts executed by the experts.
Equipment and Materials Needed
To get going with drylining services, it's essential to gather the appropriate equipment and materials. First and foremost, you will need standard gear such as a cutting knife, a tape measure, and a straightedge or T-square for precise cuts. A wallboard saw can also come in handy for cutting through plasterboard in confined spaces. Ensure you have a power drill or manual screwdriver for fastening the boards to the steel or wooden studs.
In addition to tools, the materials are crucial for a effective dry line project. Premium plasterboard is a must, as it provides the main surface for your walls. Depending on the area you are working in, you might need water-resistant or flame-resistant boards. Additionally, don't forget fasteners specially designed for plasterboard, joint tape for joints, and mud for finishing. These materials will help get a flawless and professional look.
Protective equipment should not be ignored either. A dust mask, protective eyewear, and gloves will protect you from dust, debris, and sharp edges while you perform tasks. Investing in high-grade protective equipment ensures you can carry out your drylining services safely and effectively. Preparing with the proper equipment and materials sets the foundation for a productive project.
Detailed Mounting Procedure
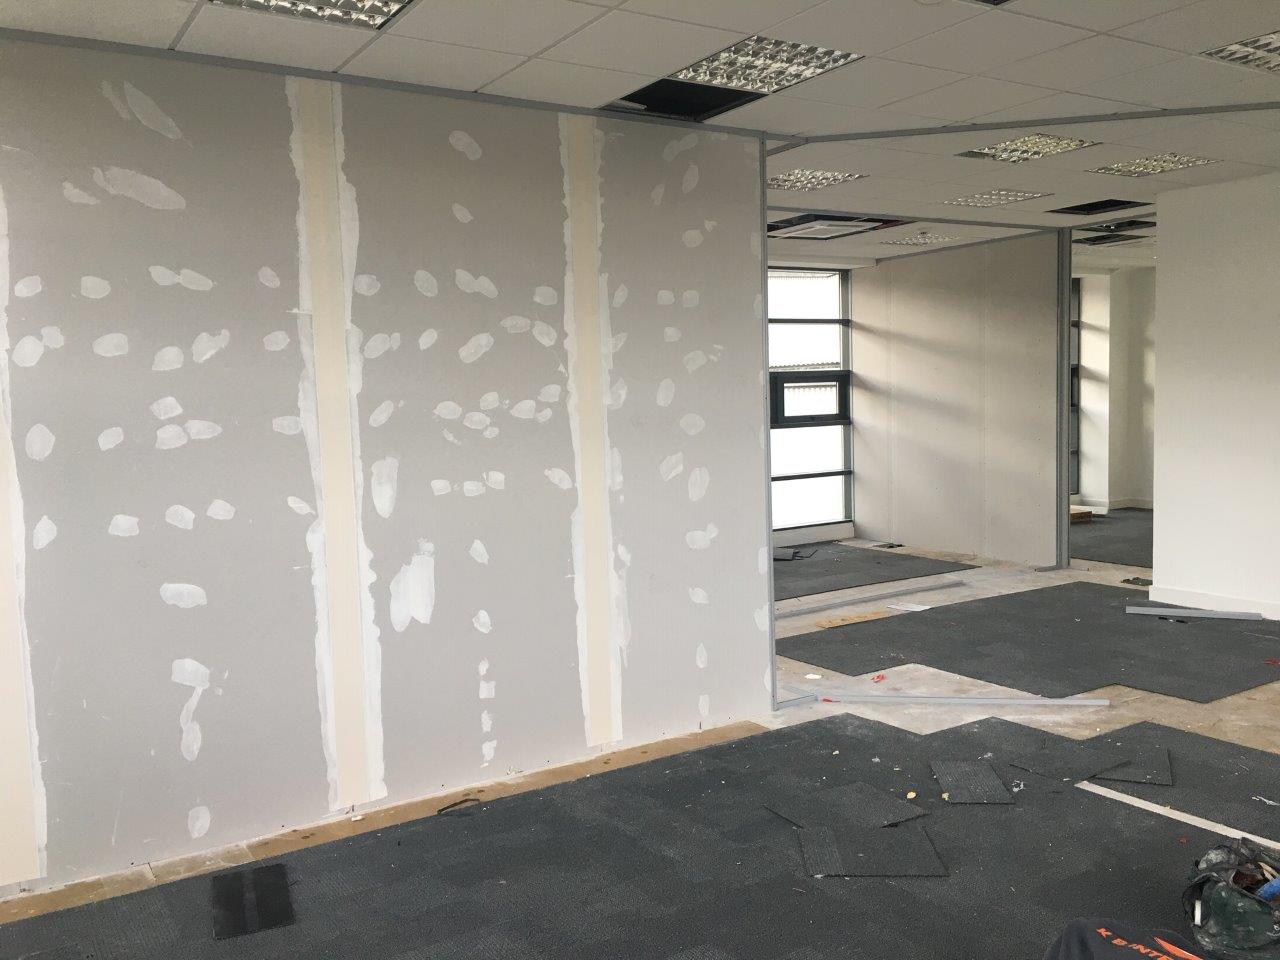
The initial step in the drylining mounting process is to prepare the space where the drywall panels will be attached. This involves emptying the area and confirming that the areas to which the panels will be affixed are clean and free of moisture. Additionally, any wiring or pipes should be considered, and required adjustments made. Once the location is prepared, it's crucial to gauge the vertical surfaces accurately to figure out the quantity of drylining material required.
Afterward, proceed with the mounting of the metal or wood studs, which will create the skeleton for the panels. Begin by noting the locations of the supports on the ground and ceiling, confirming they are aligned upwards. Fix the studs in position using suitable fasteners, taking care to keep a straight alignment for a professional look. Once the framework is complete, it is necessary to trim the drylining to size, making sure to allow for any sockets or fixtures that may be present.
To finish, secure the cut drylining to the framework using screws or glue, confirming they are stable and level. It is essential to leave a slight gap at the floor to accommodate expansion and prevent moisture issues. After all the panels are in place, the seams should be taped and filled with mud. Once the filler is dry, sand down the surface to achieve a polished look before putting on any coating or finishes. This concludes the installation process, and your partitioning services will be operational.
Common Errors to Steer Clear Of
One frequent mistake in drylining services is overlooking the importance of thorough surface preparation. Before putting up any drywall panels, it is vital to ensure that the substrates are clear, free from moisture, and unobstructed. Failing to do this can result in poor adhesion and can cause the boards to warp or become dislodged over time. Taking the time to properly prepare the surface can reduce significant work and cost in the long run.
Another pitfall is overlooking to check for moisture problems. Lack of attention to possible wetness can lead to mold growth and damage of the materials. It's advisable to conduct moisture tests and, if necessary, apply damp-proofing measures before moving forward with the installation. Monitoring on moisture levels helps maintain the longevity of the drylining work and ensures a healthy indoor environment.
Finally, many novices ignore the necessity of accurate measuring and positioning during the installation. Faulty measurements can cause spaces and off-kilter joints, affecting the overall aesthetics and performance of the work. It is crucial to verify all measurements and ensure that each board is properly aligned before fastening it in place. Taking this step seriously yields a more polished and attractive finished product.